Tuesday, October 11, 2016

New ROOF!!!

Yep, that's right.  We're having to put a new roof on this mobile home renovation.  We won't be completely tearing off the old roof, we'll just be putting a new roof over the top of the old one.  And the reason for our haste is because with the recent rains that we've had, we discovered leaks coming in through the roof.  In all of our replacing of rot, tearing out and re-framing of the interior and exterior walls, the roof has flexed so much that things just aren't as sealed and connected as they were before we started.  We knew this was coming from the beginning, we were hoping to be able to do it later but with these new leaks we decided that before we put new materials on the walls like insulation and drywall we should probably fix the leak situation.  We definitely don't want for any of our new materials to get ruined because of leaks! 


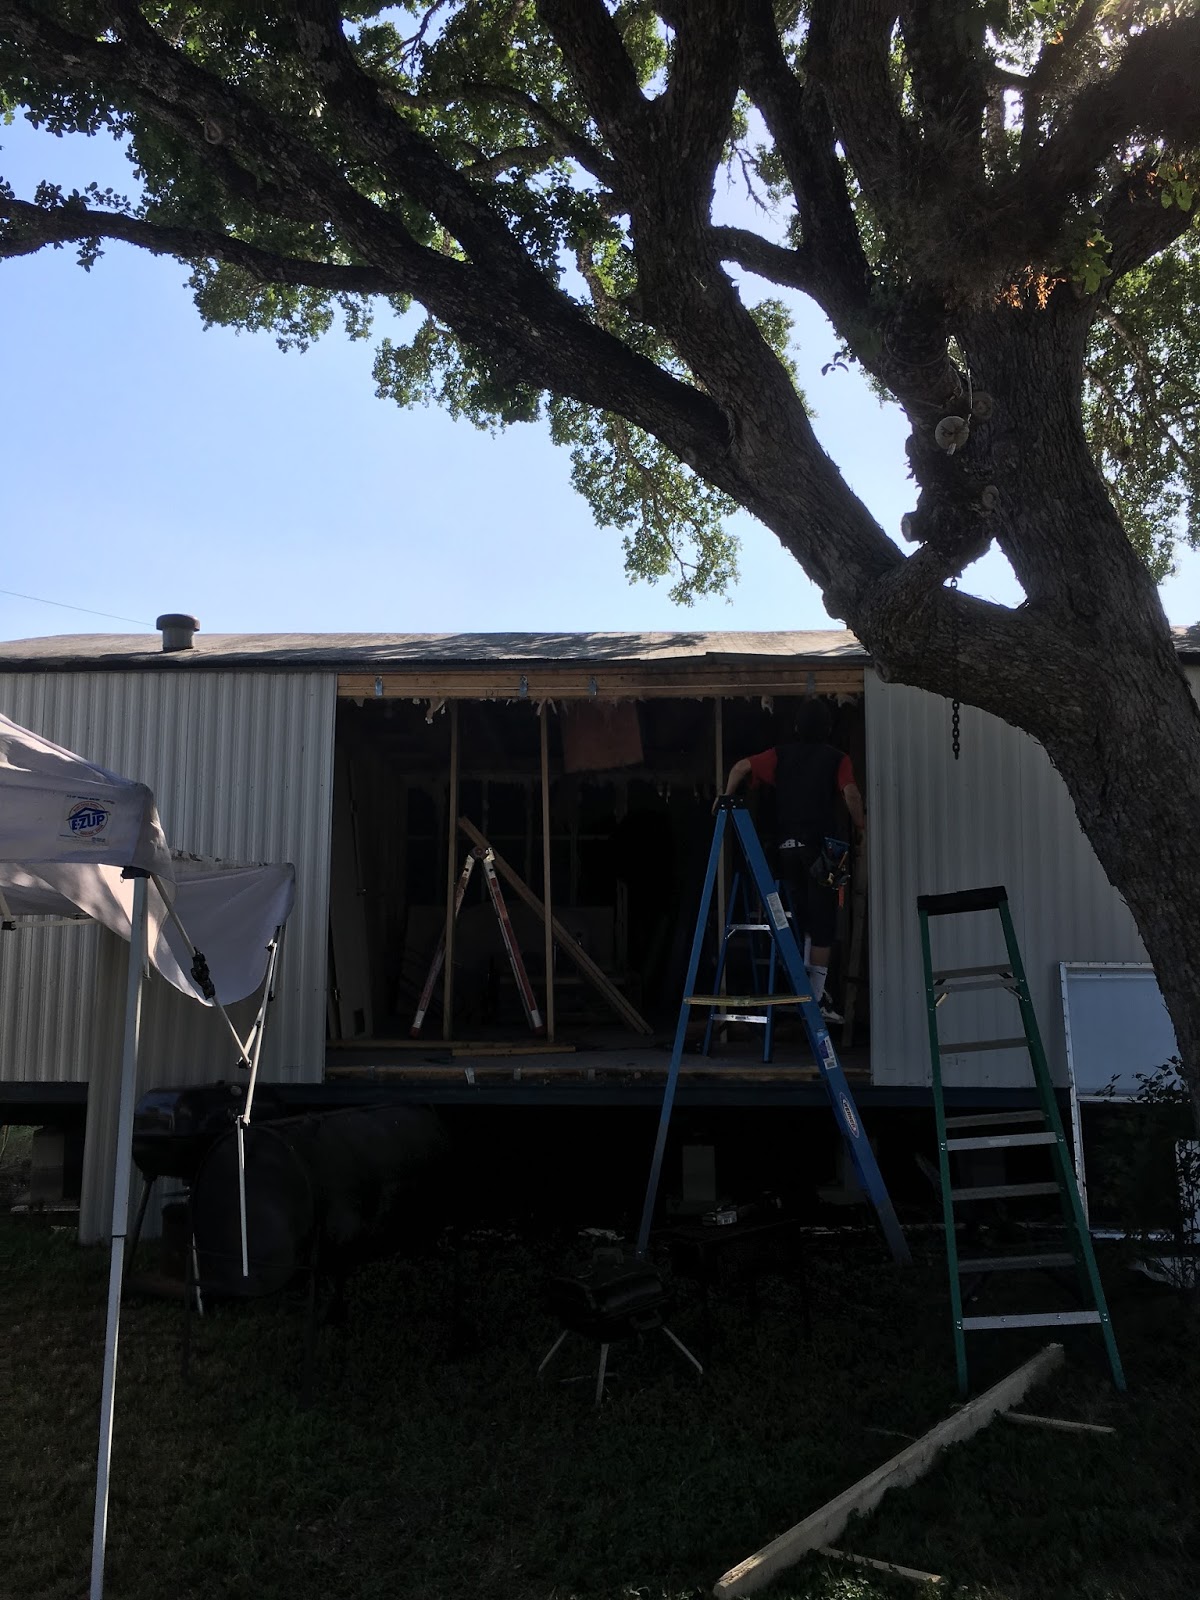
Pictured right is our roof before. The new addition roof on the left and the old mobile home roof on the right after 2 coats of aluminum protectant. You can also see Mike up there helping TJ get the measurements lined out. We're so thankful for his help!


The first step was to set a 2x4 ridge on the peak of the roof.  As you can see, these are blocked with small cuts of 2x4 to connect each piece together.  We used 3 inch ring shank nails.  We used 10 foot 2x4's, and the ridge took about 8 2x4's.


These rafters were placed directly on top of the existing rafters in the ceiling of the house.  We used the same 3 inch ring shank nails to nail these rafters through the roof into the existing ceiling rafters.  Since the existing roof metal was in such bad shape, not all of the new rafters were able to sit flush, as you can see the gaps above.  So 6 inch lag screws were used on every other rafter to screw them into the top plate of the exterior walls.  This is to ensure the wind doesn't budge our new roof.  These rafters are set roughly 2 feet apart to match the existing rafters in the ceiling but not every rafter was exactly 2 feet apart.  We used roughly 80 10-foot 2x4's for the rafters.  The overhang you see above will be trimmed in the end to accommodate fascia board, but we plan to leave about a foot overhang to help with water runoff.


The notch pictured above was cut in every rafter in 4 spots to support the furring strips.  These cuts made the job very time consuming.  A miter saw was used to make these notches.  We went with 1x3 furring strips to save on cost. 


Above you can see the furring strips running across the rafters.  They are 1x3x8 and about 120 of these were used.


Here's the roof with pretty much all of the lumber in place!  Now we're ready for metal! 


Above you can see the overhang before we added the fascia. 


And above you can see the overhang after it was trimmed, and fascia was installed.  This is just added protection for the rafters from moisture. The fascia was made out of 14 foot 2x6's.  A router was used to cut a groove for the soffit.

 
We used 50 sheets of 9 foot R-Panel to cover the roof, 25 sheets on each side.  They were fastened to the furring strips with metal roofing screws. Close to 1,000 screws were used.  Each sheet of metal was fitted from the bottom up using a piece of 2x4 to get exactly 1 1/2 inch overhang past the fascia, to help with water runoff.  Each sheet of metal has to be screwed down to the furring strips, so for that reason, and for safety purposes, it's best to only put in place a couple of sheets at a time while you are screwing them in.  This will help you to keep track of where the furring strips are as you are putting in your screws.


  There are 2 plumbing vents, 1 in each bathroom that sticks up out of the roof.  Holes had to be cut in the metal to accommodate these.  We used a rubber flashing to seal these vent pipes to protect against leaks.  They applied a bead of silicone at the bottom of the boot and put in lots of screws to hold in place.

 Pictured above is the house before the new roof.


And here is the house after the new roof.  In total, it took about 10 days to install.  We love the way our new roof looks!  And best of all, we have added piece of mind that we shouldn't have any more leaks (we'll have to wait for a good rain to check!), and HOPEFULLY it'll help with our electric bill.  We're putting a lid on this mobile home renovation a little at a time! 


Wednesday, July 20, 2016

Plumbing - Inside

In planning the inside plumbing for our Mobile Home Renovation, we decided we would move where the water comes in, because we wanted to move the water heater to the addition.  Before the renovation the water heater was in between the 2 spare bedroom closets, which was taking up much needed closet space from our little girl!  So we tore out the old water heater, re-framed the closets to make them bigger, and re-routed the outside plumbing to come into the new pantry/utility room in the addition. 
We used 1 inch PVC from the well to this point, then reduced it down to 3/4 inch PEX with a ball valve.  We're told the ball valve is more reliable than the gate valve, allowing more control to stop flow. 
We decided to go with PEX because it was cost effective, flexible, and fast to roll out.  This made the project easier, especially in a mobile home.  This also meant TJ got to buy more tools!  In order to install PEX you have to have special crimpers for installing the fittings. 

 
This picture shows the handoff from the pipe coming from the well to the tubes that will go inside (with a shutoff valve).  The water will actually come in to an area for a proposed water filtration system, then go to the water heater from there. 
 
 
There are pipes laying on the ground right now because they come up into the house from the floor, then run up through the walls where it's needed (utility room, kitchen and 2 bathrooms).  These pipes will eventually be strapped down to the ground which should provide warmth and ease of access later on.     

 
This first picture shows the new utility room/pantry from the doorway.  TJ built a platform for the water heater, washer and dryer to sit on so they aren't so low to the ground.  You can see the placement of the water heater there where it sits in the box.  
 
 
 In this picture you can see the water heater removed and the lines and valves for the washer and dryer put in.  I love these colored tubes, there's no mistaking which is which. 
 
This picture shows the plumbing for the water filtration system that we will be installing.  It's a complete circuit right now until we are able to install the water filter.
 
Plumbing for the tub in the master bathroom
Plumbing for the tub in the guest bathroom
 
Plumbing for toilet and sink in guest bathroom
 
Since we are plumbing in a mobile home I believe it makes things so much easier to be able to run plumbing up from the floor directly to where we need it while leaving the majority of the pipes under the house.  We've discussed adding small access panels in a few areas to be able to access the plumbing for the showers/tubs from behind in case of problems in the future.  The majority of this plumbing job is done!  This means our little mobile home renovation is still moving along! 


Friday, June 24, 2016

Plumbing - Outside

We decided that we wanted to replace the entire water infrastructure from the very beginning due to rust problems we've had for the last several years.  One of the first things we had done was have the well pipe replaced from galvanized steel to PVC.  Several years ago we replaced the tank which didn't fix our issues (the submersible pump was replaced as well).  We also decided that we would replace all of the pipe in the ground leading from the well to the house.  TJ rented a trencher and installed and buried the pipe. 

 
The trencher cost him about $100 for a day.  He trenched from the well to the house, with a few detours off of that to the back of the house for a garden water faucet, and the front of the house for a water faucet out there as well.  He also trenched from the well to the electric pole so that we could properly bury the romex for the power cable for the pump.  We don't want to be hitting that with the lawn mower anymore!

 
The new faucets are also a welcome sight!  I'm definitely going to want a faucet close to the garden, and the front faucet will be great for watering grass and plants. Hopefully now we'll also be able to burn trash and tree limbs and things with water close by.  
Since we're running a completely new plumbing system, TJ will have a plumber friend help him to make sure everything gets done right inside and out.  One of my big concerns with all new pipes, etc. is to make sure that we get enough water pressure in the house.  We may have spoiled ourselves a little bit by living a few years in the city.  You can definitely take things like good water pressure for granted!


I'm super stoked about our new water pipes!  Eventually I'd like to look into maybe changing out our well pump with an above ground solar powered pump and a large secondary storage tank.  It would be super cool to have a decent water reserve and not have to pay for electricity to power the water pump!  But those upgrades will need to wait, I'm just glad to be getting plumbing in the house!  That means our mobile home renovation is progressing!   
 

Friday, June 17, 2016

Windows and Doors


Our next big project is to replace the windows and doors!  This has gone hand in hand with the framing and subfloor project TJ's been working on.  Our plan was to replace every window in the house with new double paned vinyl windows.  Just about all of the windows in the house have been leaking and we definitely need to solve that problem before we put in new frame, drywall and siding. 
But here's one of the things I'm most excited about, our new sliding glass door out to the back porch and yard!

 
Since the old back door is now leading out to the addition, we decided a sliding glass door would be great.  We've heard bad things about putting these in mobile homes, but we decided we're going to take our chances on this one.  There used to be a window here so that's one less window we'll have to buy.  And the amount of light this will allow is very much needed.  This house was pretty dark before, especially in this back utility room area.  Now we'll need to find some windows to put in the addition, but this can be done later.

The front door was in such bad shape, it and the whole frame around it needed to be replaced and bad.

I love this new front door!  It allows just enough privacy but allows a little light in at the top.  I'm so excited to have a more sturdy door there, and once we put siding on the house the front will look super sharp!

We're really excited about our new windows.  Hopefully they'll last a reasonable amount of time and will help our electric bill in the process.  We had to go to a mobile home supply place to get these.  There's only 1 window in the house we will leave for now, and that's the small window in the master bath.  It hasn't leaked so for time and money's sake we'll probably just replace it later.        
Back of the house, windows in living room and spare bedroom


We relocated the living room window from right next to the front door to the left just a few feet.  We didn't want the window leading out to the porch for light and security reasons.  Once TJ cut the new window in he knew it was the right decision because of all the new light coming in. 


In the master bedroom there was only 1 large window, and we decided we'd rather have 2 small windows.  So this window will need to be cut out, then re-framed, and have the 2 new windows put in and cased.  Here is the inside before the new windows were put in. 


As soon as TJ cut out the windows he found more rot on the outside frame.  This window has definitely been leaking and he decided to go ahead and cut out all of the rot and re-frame that section while he was already in there.  Look at the huge hole in my house! The bottom picture shows the 2 new windows in and looking great.  Looks like we may be siding the house sooner rather than later!  I love our new doors and windows, our mobile home renovation is certainly moving along!  Next up is plumbing, electrical and cabling, Oh My!


Thursday, June 2, 2016

Repairs - Framing and Subfloor

The addition shell is complete, now it's time to move on to framing out new walls, cutting in doors, re-framing all of the interior walls, and repairing of the rotten subfloor and framing on the exterior walls.  Oh, and replacing the windows!
TJ decided to just go ahead and tear down the old framing on all of the interior walls and replace them.  They were all 3x2 anyway, and most of them needed to be re-framed in order to either widen closets or move doorways.  We also still needed to frame in the walls of the addition.  When a mobile home is built, the flooring is put down before the walls are put into place.  And the walls go into place with drywall or paneling already attached to the frame (typically).  We also found that not all framing was lined up with floor joists, which apparently is another no-no.  Maybe it's not that big a deal in a mobile home, but we decided to make sure everything was done right and built sturdy.  


The subfloor in the master bathroom had to be repaired at the wall.  When TJ tore down the wall and cut the subfloor he saw the wall wasn't even lined up with a joist so he framed the wall about 3 more inches out to line it up.  I'm definitely not complaining about a little more space in the bathroom!  In the 2nd picture you can see the new subfloor patch, the new framing and the spot where our new soaker tub will be going.


The above picture shows the new frame for the kitchen/master bedroom wall.  Previously the doorway was on the left side, and we needed to move it to give the kitchen more continuity.  We'll have a complete 10x10 L shaped kitchen now, and will not have to enter the bedroom in the middle of it.  This is going to be great! 


The first picture above is showing the rot and mold in the frame of the guest bathroom.  This all had to be ripped out and replaced.  The whole subfloor in the bathroom and the frame on both exterior walls needed to be replaced. We believe the toilet had a water leak, and we know that the fan/vent in the ceiling was leaking. 
 
It's a little unsettling to see your house peeled back like a tin can on two sides but now it's looking a lot better! 
The front of the house near the front door needed a huge subfloor and frame repair.  There was a bad place in the wall that had water running down it for years from the drip edge outside. 


The first picture is of the front door frame, and the 2nd picture shows the whole run of the area that needed to be replaced.  There are literally big holes in the floor.  This was way worse than I thought it was.

Above you can see the rotted subfloor pieces they pulled up, and how far they went with the frame and subfloor repair.  That spans across the entire front of the living room. 
 

Here's the subfloor and frame replaced, and OSB put up on the outside.  Looks so much better!  We also didn't put the window back, we'll be putting one in but slightly moving it over towards the kitchen.   
Looks like our little mobile home remodel is coming along!  We're pretty stoked but are certainly feeling the burn of being in the middle of a remodel with so much to do and not enough hands to get it done as quick as we'd like to!  But now that these repairs are completed, hopefully things will start moving quicker.