It's finally here! We've been waiting for this for quite a while. And, it marks the point of absolutely no turning back. We've already been in this phase for a couple weeks off and on, and its taking FOREVER. But we've been in the interior walls and would like to share some of what we've found so far.
TJ's first order of business was to knock out 2 of the interior walls in the kitchen and living room areas to make an open concept living space.
 |
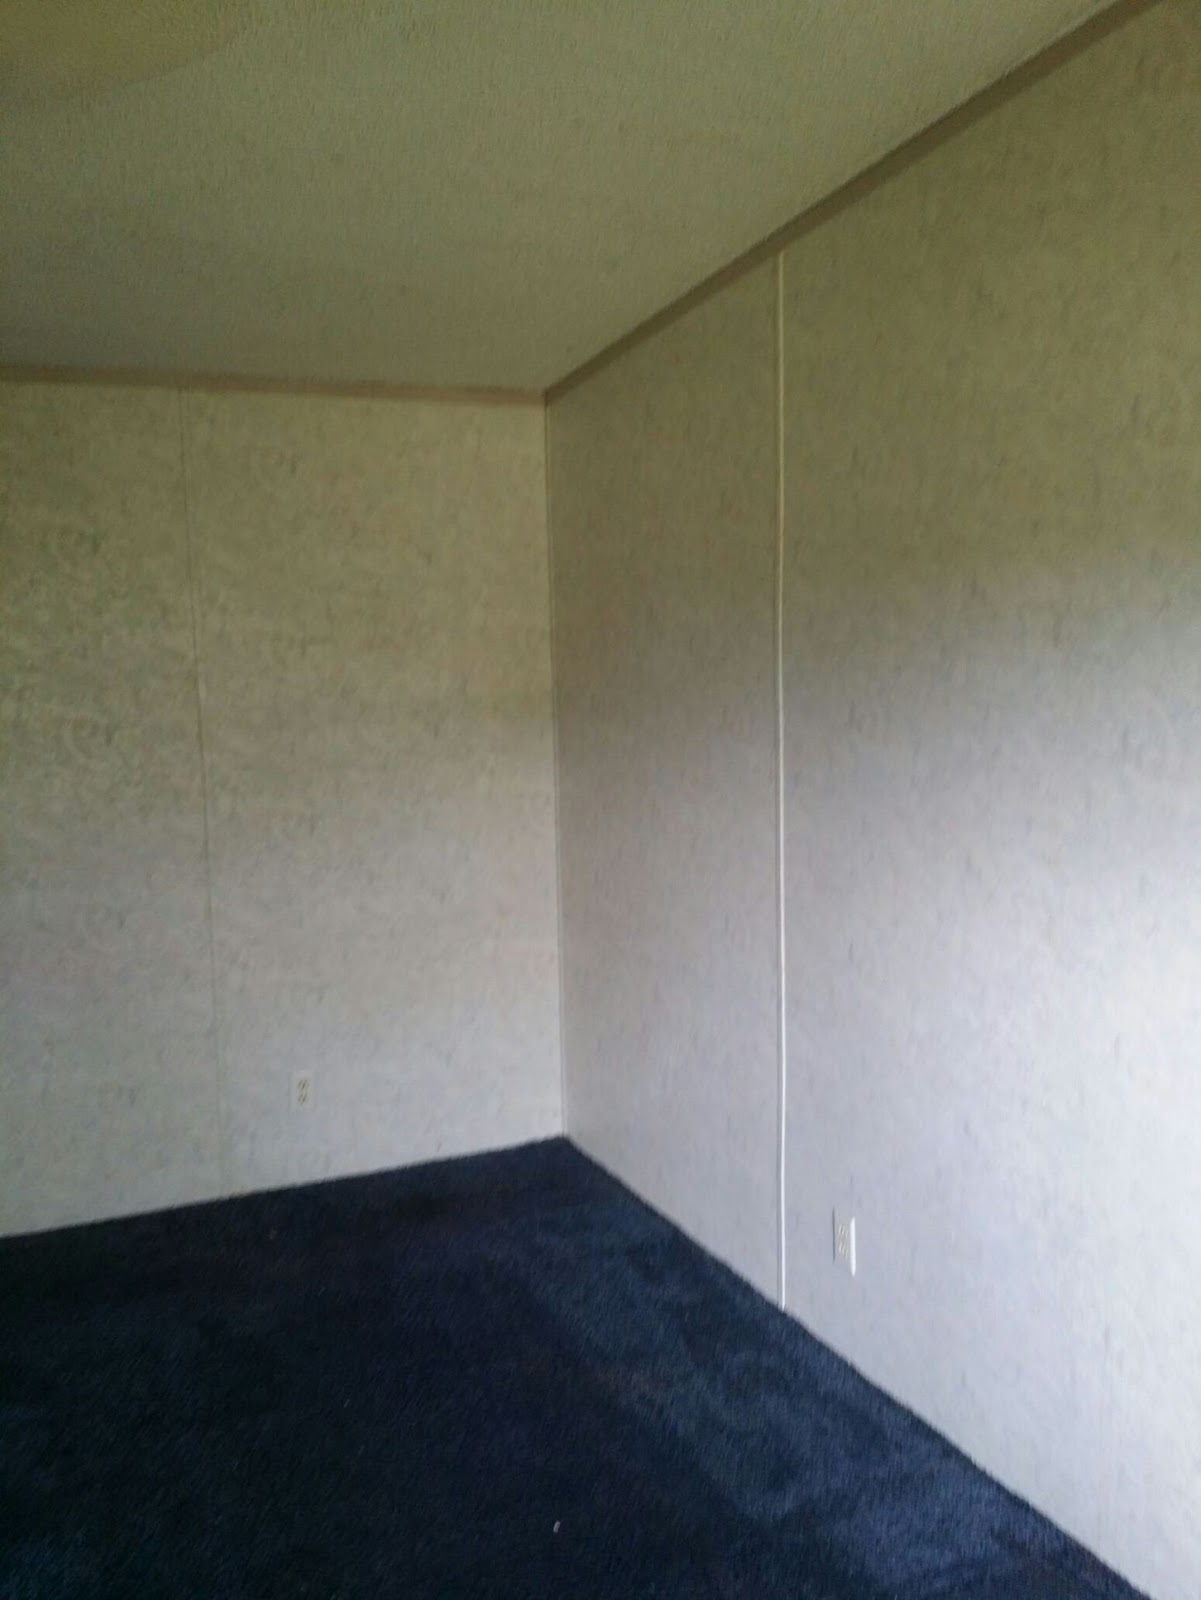
| Kitchen/Master Bedroom looking on from the living room |
There was a wall from the center stud that separated the kitchen from the utility room. That is gone and we're also moving the master bedroom door to the other side of the room near the electrical breaker box. We've discovered that the internal studs are 2x3. You can also tell where the walls were built on the ground and then put together, which is okay but there was a lot of wasted space because of it.
The walls appear to be some type of drywall that is prefabbed with wall paper, and those sheets are glued to the studs with staples and trim nails to hold them together until the glue dries.
 |
| Glue and Nails on stud |
 |
| Glue and drywall remnants |
As you can imagine, this takes some time to clean. TJ found a way to use his grinder to grind the nails, staples and glue off. It's eating up grinder blades but it seems to be the quickest way to get it done. We need these studs as clean as possible to hang new sheetrock.
 |
| Master Tub Wall |
In the master bathroom there was a large soaker tub at the end and a wall that jetted out from the exterior wall. I never really thought twice about why it was there or what it was for.
So we just got rid of that little wall. All it was there for was to make the tub fit in the space. We will be putting a longer soaker tub there that will fill the space **happy dance**.
This is in between the 2 spare bedroom closets. The linoleum is where the hot water heater sat. We will be moving the water heater to an addition, where all of the plumbing will be in coming into the house. This will also allow us to make bigger closets.
This is at the end of those 2 closets opening up to the hallway where the central air unit sits. We will have it professionally serviced and cleaned, and adding a new thermostat.
Demo is almost complete! Now we just need to tear out the drywall and insulation on the exterior walls and we'll be ready to make repairs to the subfloor and framing.

 This wall was on the side of the dryer in the utility room. We maybe had a couple of problems where there was water. I never would've expected this. I don't even remember it happening!
 This is an exterior wall in the living room. I knew this one was going to be a problem but wasn't able to fix it. This is a result of water running down the wall because the outside "gutter" system hardly ever got cleaned out.
 Here's another good one, the fan in the guest bathroom. I was able to see the water rings indicating that there had to be a leak somewhere. Luckily we're replacing the whole ceiling! And hopefully the sealing that TJ did up there will prevent this from happening again.
  We've also found that all of the windows will need to be replaced, they are just too leaky. It was an expense we were going to try to avoid but it definitely needs to be done.
 This is the guest bathroom. Just look at all that subfloor that needs to be replaced! I honestly thought under the bath tubs was going to be worse though. Let's just hope that this is the extent of it! As soon as demo is completely done, We'll be able to make the repairs and get on with this mobile home renovation!