Friday, June 17, 2016

Windows and Doors


Our next big project is to replace the windows and doors!  This has gone hand in hand with the framing and subfloor project TJ's been working on.  Our plan was to replace every window in the house with new double paned vinyl windows.  Just about all of the windows in the house have been leaking and we definitely need to solve that problem before we put in new frame, drywall and siding. 
But here's one of the things I'm most excited about, our new sliding glass door out to the back porch and yard!

 
Since the old back door is now leading out to the addition, we decided a sliding glass door would be great.  We've heard bad things about putting these in mobile homes, but we decided we're going to take our chances on this one.  There used to be a window here so that's one less window we'll have to buy.  And the amount of light this will allow is very much needed.  This house was pretty dark before, especially in this back utility room area.  Now we'll need to find some windows to put in the addition, but this can be done later.

The front door was in such bad shape, it and the whole frame around it needed to be replaced and bad.

I love this new front door!  It allows just enough privacy but allows a little light in at the top.  I'm so excited to have a more sturdy door there, and once we put siding on the house the front will look super sharp!

We're really excited about our new windows.  Hopefully they'll last a reasonable amount of time and will help our electric bill in the process.  We had to go to a mobile home supply place to get these.  There's only 1 window in the house we will leave for now, and that's the small window in the master bath.  It hasn't leaked so for time and money's sake we'll probably just replace it later.        
Back of the house, windows in living room and spare bedroom


We relocated the living room window from right next to the front door to the left just a few feet.  We didn't want the window leading out to the porch for light and security reasons.  Once TJ cut the new window in he knew it was the right decision because of all the new light coming in. 


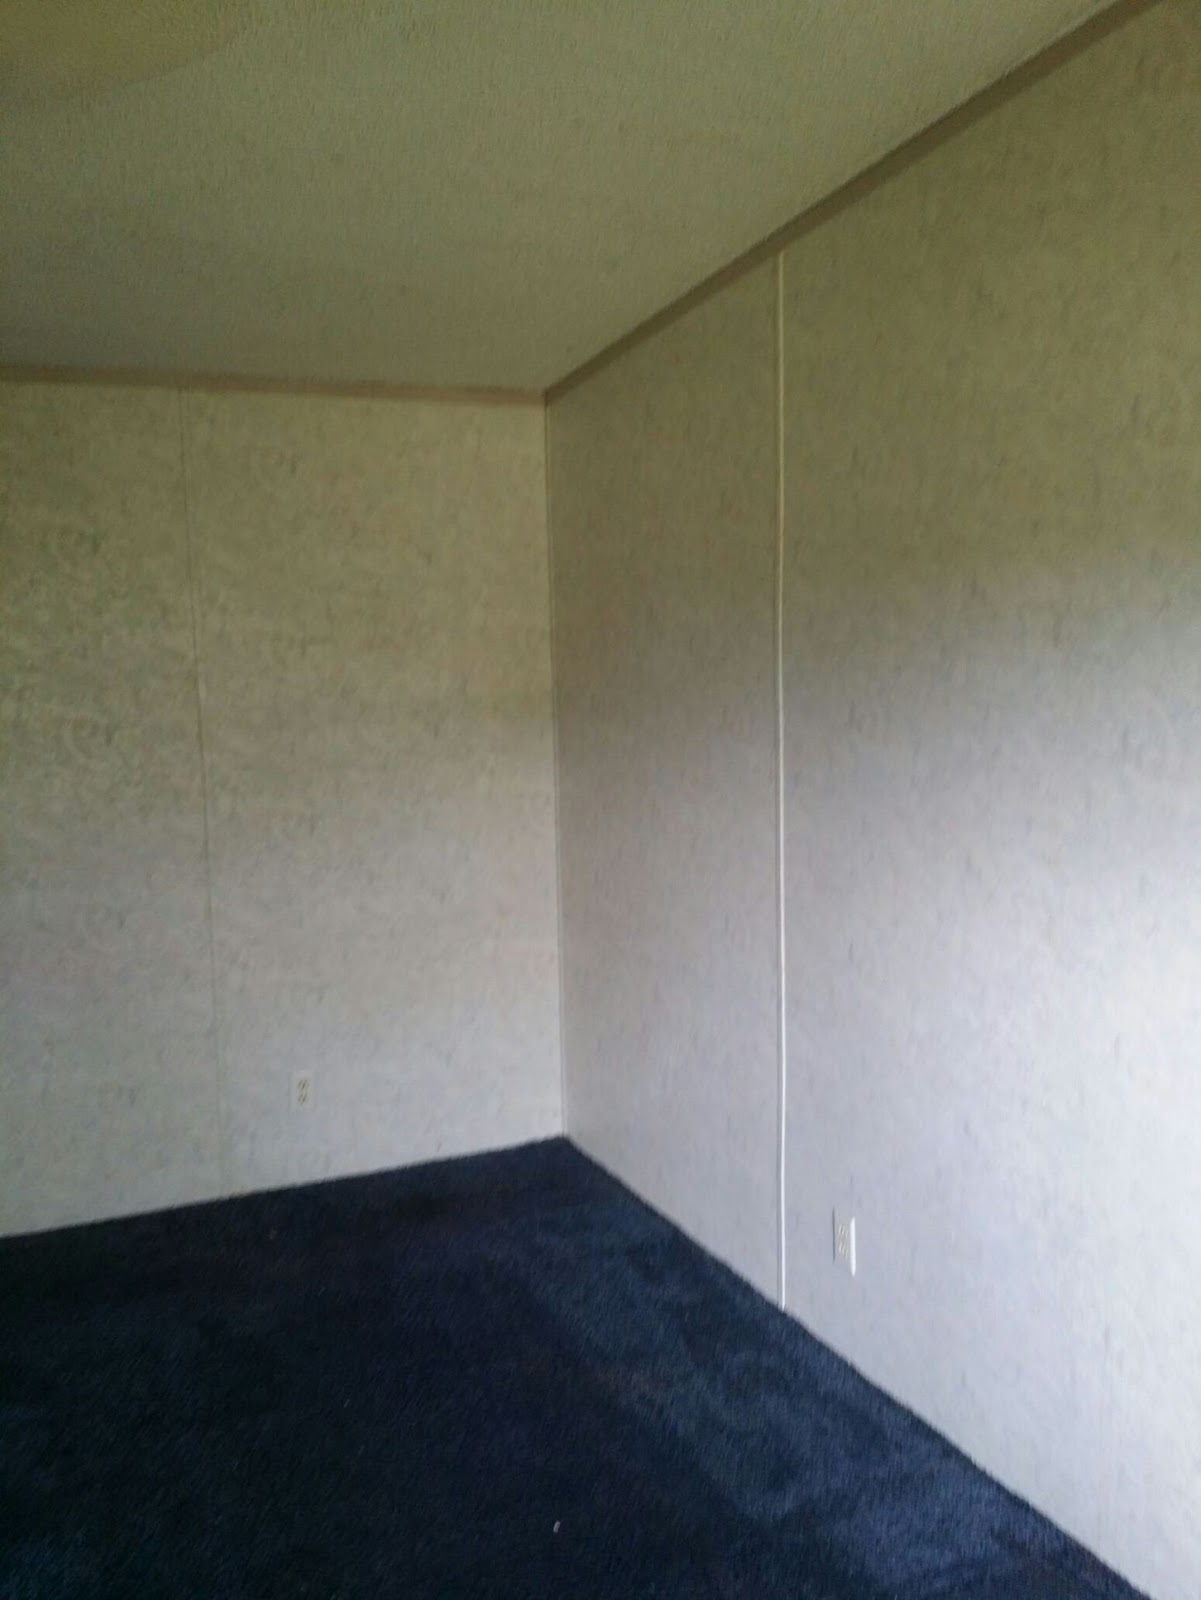
In the master bedroom there was only 1 large window, and we decided we'd rather have 2 small windows.  So this window will need to be cut out, then re-framed, and have the 2 new windows put in and cased.  Here is the inside before the new windows were put in. 
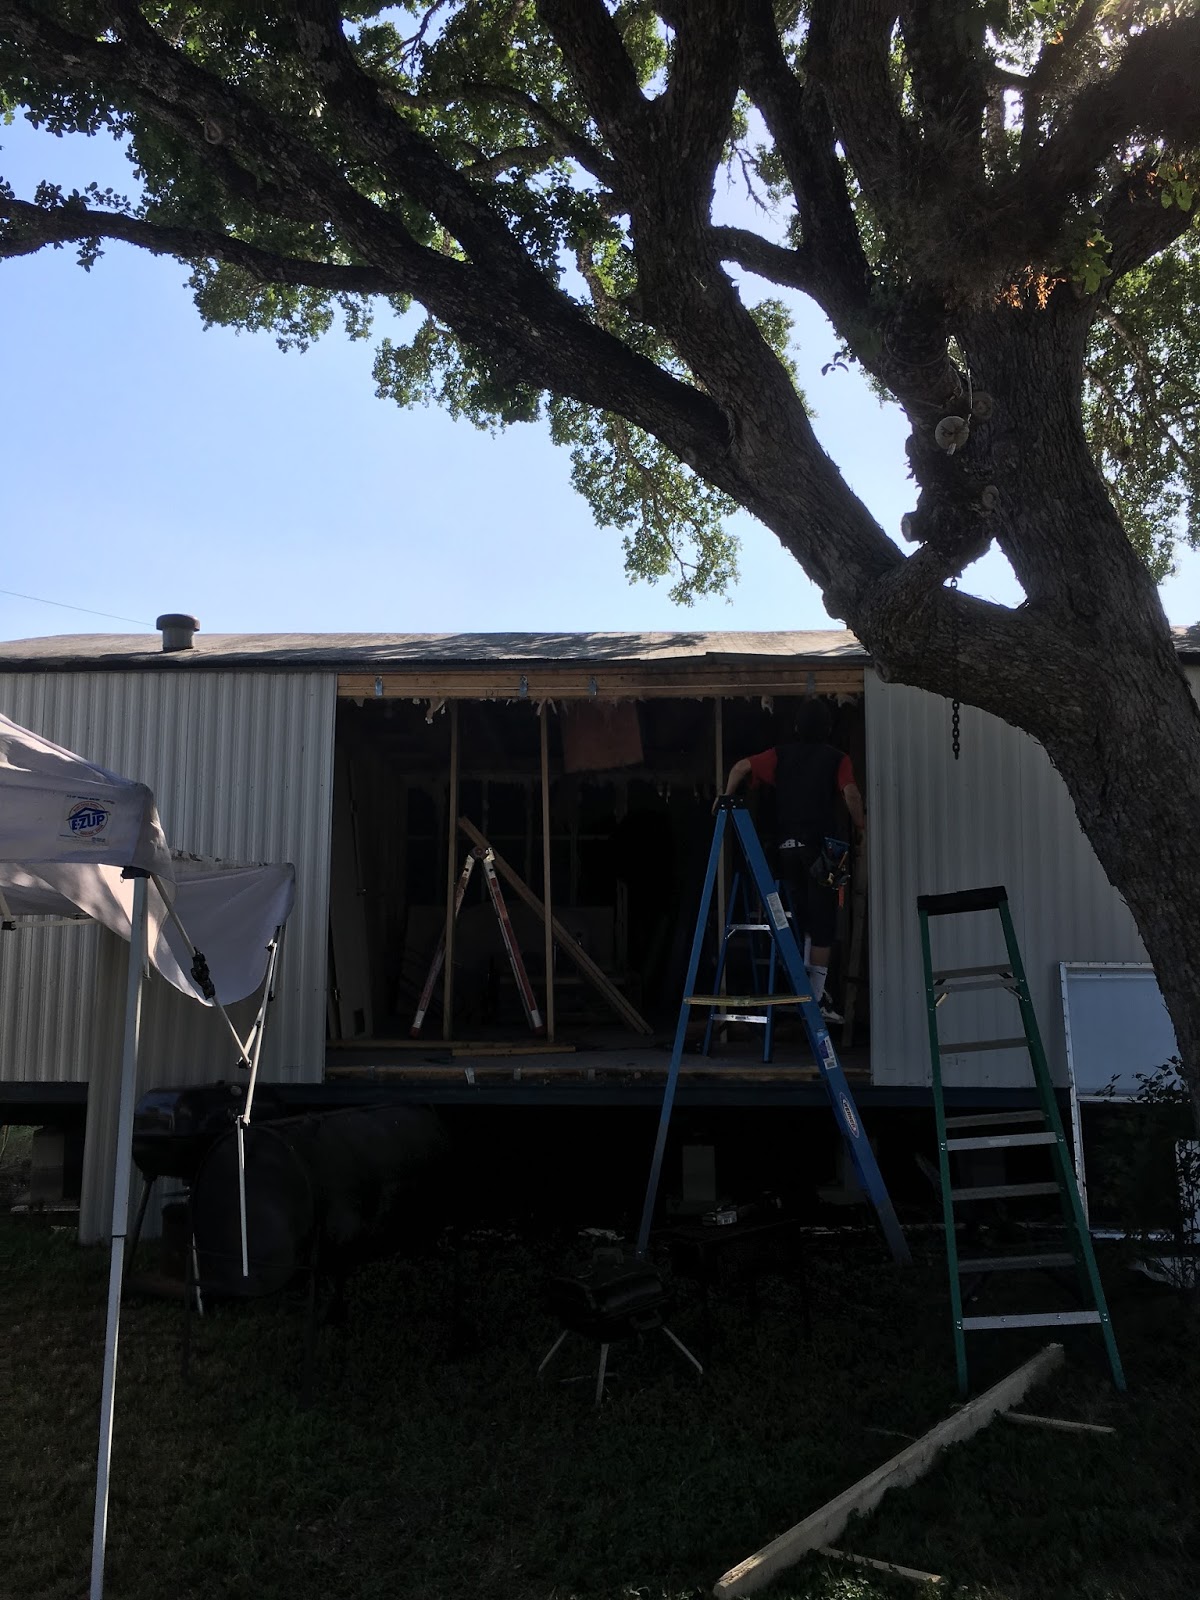


As soon as TJ cut out the windows he found more rot on the outside frame.  This window has definitely been leaking and he decided to go ahead and cut out all of the rot and re-frame that section while he was already in there.  Look at the huge hole in my house! The bottom picture shows the 2 new windows in and looking great.  Looks like we may be siding the house sooner rather than later!  I love our new doors and windows, our mobile home renovation is certainly moving along!  Next up is plumbing, electrical and cabling, Oh My!


Thursday, June 2, 2016

Repairs - Framing and Subfloor

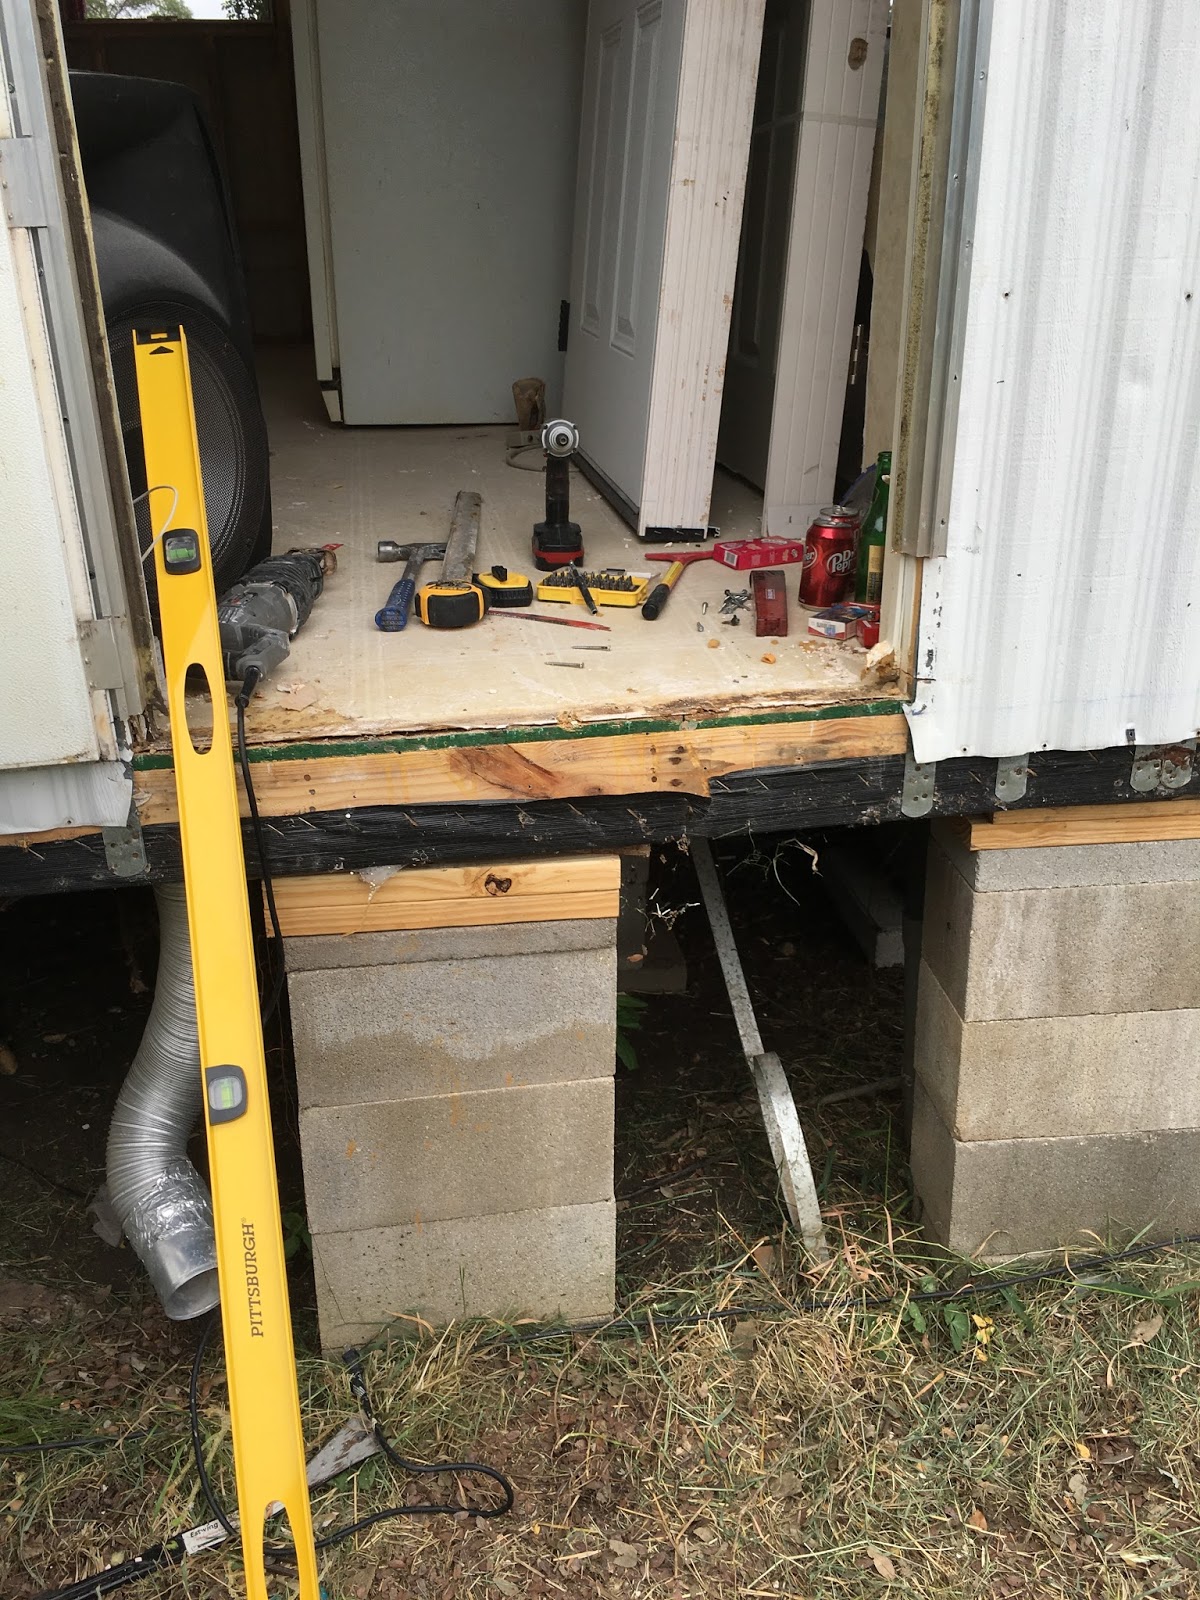
The addition shell is complete, now it's time to move on to framing out new walls, cutting in doors, re-framing all of the interior walls, and repairing of the rotten subfloor and framing on the exterior walls.  Oh, and replacing the windows!
TJ decided to just go ahead and tear down the old framing on all of the interior walls and replace them.  They were all 3x2 anyway, and most of them needed to be re-framed in order to either widen closets or move doorways.  We also still needed to frame in the walls of the addition.  When a mobile home is built, the flooring is put down before the walls are put into place.  And the walls go into place with drywall or paneling already attached to the frame (typically).  We also found that not all framing was lined up with floor joists, which apparently is another no-no.  Maybe it's not that big a deal in a mobile home, but we decided to make sure everything was done right and built sturdy.  


The subfloor in the master bathroom had to be repaired at the wall.  When TJ tore down the wall and cut the subfloor he saw the wall wasn't even lined up with a joist so he framed the wall about 3 more inches out to line it up.  I'm definitely not complaining about a little more space in the bathroom!  In the 2nd picture you can see the new subfloor patch, the new framing and the spot where our new soaker tub will be going.


The above picture shows the new frame for the kitchen/master bedroom wall.  Previously the doorway was on the left side, and we needed to move it to give the kitchen more continuity.  We'll have a complete 10x10 L shaped kitchen now, and will not have to enter the bedroom in the middle of it.  This is going to be great! 


The first picture above is showing the rot and mold in the frame of the guest bathroom.  This all had to be ripped out and replaced.  The whole subfloor in the bathroom and the frame on both exterior walls needed to be replaced. We believe the toilet had a water leak, and we know that the fan/vent in the ceiling was leaking. 
 
It's a little unsettling to see your house peeled back like a tin can on two sides but now it's looking a lot better! 
The front of the house near the front door needed a huge subfloor and frame repair.  There was a bad place in the wall that had water running down it for years from the drip edge outside. 


The first picture is of the front door frame, and the 2nd picture shows the whole run of the area that needed to be replaced.  There are literally big holes in the floor.  This was way worse than I thought it was.

Above you can see the rotted subfloor pieces they pulled up, and how far they went with the frame and subfloor repair.  That spans across the entire front of the living room. 
 

Here's the subfloor and frame replaced, and OSB put up on the outside.  Looks so much better!  We also didn't put the window back, we'll be putting one in but slightly moving it over towards the kitchen.   
Looks like our little mobile home remodel is coming along!  We're pretty stoked but are certainly feeling the burn of being in the middle of a remodel with so much to do and not enough hands to get it done as quick as we'd like to!  But now that these repairs are completed, hopefully things will start moving quicker.


Wednesday, May 18, 2016

The Addition Shell


Now that we've gotten just about all of the demo out of the way, next up is our addition.  The addition was planned to run along the backside of the master bedroom, bathroom and former utility room/back door.  We planned to use it as a large master closet, an office, and a washroom/pantry/utility room with a covered porch on the end that leads out to the back yard. 


We needed to get the addition done before anything else because we planned on moving the water heater out into the new utility room and therefore we can't run plumbing until that is in. 

Here you can see them prepping the back of the mobile home to start building the addition.  They built it on the same level as the rest of the home.


The dimensions of the addition are 24/12 interior space and a 10x12 covered porch to the back yard.  This extra space is badly needed. The home before didn't have a true pantry, I just used a couple of cabinets for food storage.   
 
We intended on using shingles for the roof but the pitch wasn't great enough for shingles so we went with metal instead.  Eventually it would be nice to replace the whole roof with new metal.    


We're so excited to get the extra space!  We'll be building interior walls and customizing the pantry with a washer/dryer platform, a platform for the water heater, and shelving.   I also can't wait to do some customization in the closet as well.   We'll be re-tasking some of the good windows from the main house to the addition as long as they aren't leaking. The next step is to frame the walls on the inside of the addition, and continue frame and subfloor repairs in the rest of the house.  This mobile home remodel is starting to come along!  
  

Tuesday, May 10, 2016

DEMO - Exterior Walls

Well, we've gotten the exterior walls completely gutted, which was no small feat.  The drywall panels on the exterior walls had more glue than staples, and where we were able to cut the panels off of the interior walls in larger sheets, that wasn't possible with these.  They had to come down in crumbles.  Not fun!  It created a LOT of dust and mess.  But we have confirmed that the exterior studs are 2x4 which is good.  The only thing left to do here is to get those studs cleaned off from the remaining drywall remnants, glue and staples, then we'll be ready to insulate and run our cables! 


There were some things we ran into in the walls that have been somewhat of an eye opener for me.  The outside is sided in sheet metal, and over the years there have been holes cut and damage from trees.  Every time there was a utility installed, there was a new hole cut in order to run cables into the house.  Here's a great example of a slash in the siding (probably from a tree) and a phone cable coming into the house.  Not sealed at all!

 
And then there was this little guy. I have no idea what he was or how he got in, but I can't even believe he was there!  Holy Cow!  Luckily the insulation that was there helped mask the smell.  This house is about 16 years old and I can't believe how much deterioration has happened in this time.  Hopefully with the repairs we're doing and the quality materials we're putting in, it'll give us another 20 good years before we have to do any major renovation on this mobile home. 

Friday, April 29, 2016

DEMO - Mobile Home Rot

One of the biggest problems in Mobile Homes is moisture.  There were some areas that I knew I could count on finding rot and mildew, but I had no idea. 

This wall was on the side of the dryer in the utility room.  We maybe had a couple of problems where there was water.  I never would've expected this.  I don't even remember it happening!


This is an exterior wall in the living room. I knew this one was going to be a problem but wasn't able to fix it.  This is a result of water running down the wall because the outside "gutter" system hardly ever got cleaned out.
  So the water streamed down the house for years and ended up rotting the framing, wall panel, insulation and subfloor.  There's a similar spot at the front door because of the same problem. 
 
Here's another good one, the fan in the guest bathroom.  I was able to see the water rings indicating that there had to be a leak somewhere.  Luckily we're replacing the whole ceiling!  And hopefully the sealing that TJ did up there will prevent this from happening again.   
We've also found that all of the windows will need to be replaced, they are just too leaky.  It was an expense we were going to try to avoid but it definitely needs to be done.
 

This is the guest bathroom.  Just look at all that subfloor that needs to be replaced!  I honestly thought under the bath tubs was going to be worse though.  Let's just hope that this is the extent of it!  As soon as demo is completely done, We'll be able to make the repairs and get on with this mobile home renovation!   


Tuesday, April 19, 2016

DEMO - Mobile home Craftsmanship

It's finally here!  We've been waiting for this for quite a while.  And, it marks the point of absolutely no turning back.  We've already been in this phase for a couple weeks off and on, and its taking FOREVER.  But we've been in the interior walls and would like to share some of what we've found so far.
TJ's first order of business was to knock out 2 of the interior walls in the kitchen and living room areas to make an open concept living space. 

Kitchen/Master Bedroom looking on from the living room

There was a wall from the center stud that separated the kitchen from the utility room.  That is gone and we're also moving the master bedroom door to the other side of the room near the electrical breaker box.   We've discovered that the internal studs are 2x3. You can also tell where the walls were built on the ground and then put together, which is okay but there was a lot of wasted space because of it.

The walls appear to be some type of drywall that is prefabbed with wall paper, and those sheets are glued to the studs with staples and trim nails to hold them together until the glue dries.   
Glue and Nails on stud

Glue and drywall remnants


As you can imagine, this takes some time to clean.  TJ found a way to use his grinder to grind the nails, staples and glue off.  It's eating up grinder blades but it seems to be the quickest way to get it done.  We need these studs as clean as possible to hang new sheetrock.

Master Tub Wall


In the master bathroom there was a large soaker tub at the end and a wall that jetted out from the exterior wall.  I never really thought twice about why it was there or what it was for.


So we just got rid of that little wall.  All it was there for was to make the tub fit in the space.  We will be putting a longer soaker tub there that will fill the space **happy dance**. 
 
This is in between the 2 spare bedroom closets.  The linoleum is where the hot water heater sat.  We will be moving the water heater to an addition, where all of the plumbing will be in coming into the house.  This will also allow us to make bigger closets. 

 
This is at the end of those 2 closets opening up to the hallway where the central air unit sits.  We will have it professionally serviced and cleaned, and adding a new thermostat.
Demo is almost complete!  Now we just need to tear out the drywall and insulation on the exterior walls and we'll be ready to make repairs to the subfloor and framing.
     

Friday, April 1, 2016

Inside Before

Here are some of the before pictures (well, taken during demo). 


Built-in Entertainment Center in living room


The wall below is the partition wall between the living room and the dining room.  On the Living room side it's a built-in entertainment center and on the dining room side it was a computer desk. The living room has blue carpet and the kitchen has linoleum that is definitely no where close to it's original color.


These faded blue laminate countertops were in the kitchen and both bathrooms. 


Master Bedroom with Blue Carpet
Master Closet
 

 The master closet and a corner of the master bedroom.  That blue carpet!


Master Bath Vanity with Rust stains
Master Bathroom with Carpet


Here is the carpet in the master bathroom.  Can you tell where it's faded from the sunlight coming in the window?  Note to self, never use a dark colored carpet!  And the awful rust stains in the sink from the rusty water.  It didn't matter how often we cleaned the sinks and tubs, the stains would come back way too soon.  And what about that wallpaper?!  That fantastic blue green and red was in both bathrooms and the kitchen.  I'm not going to miss that floral pattern!  


Kitchen/Utility room partition
Utility Room Washer/Dryer hookups
And finally the partition wall between the kitchen and the utility room.  The refrigerator was on the kitchen side, and the washer/dryer hookups on the other.  Can you see that subtle wallpaper pattern?   
We are super excited to get to work on demo!